MK2 Triumph Spitfire Weld in Roll Cage kit (Material: Standard CDS, Fitting: Yes)
THIS IS A JOB FOR COMPETENT FABRICATORS ONLY!
FITTING AVAILABLE
Whats included?
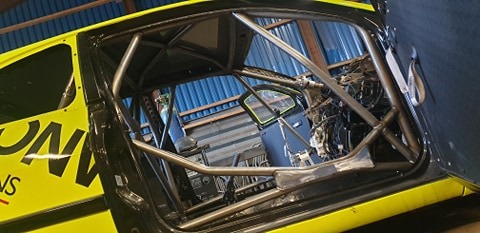
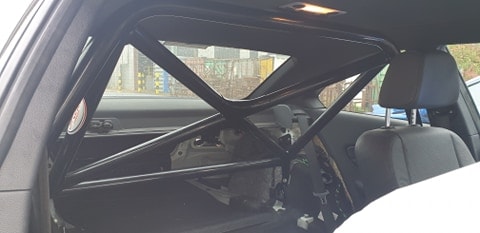
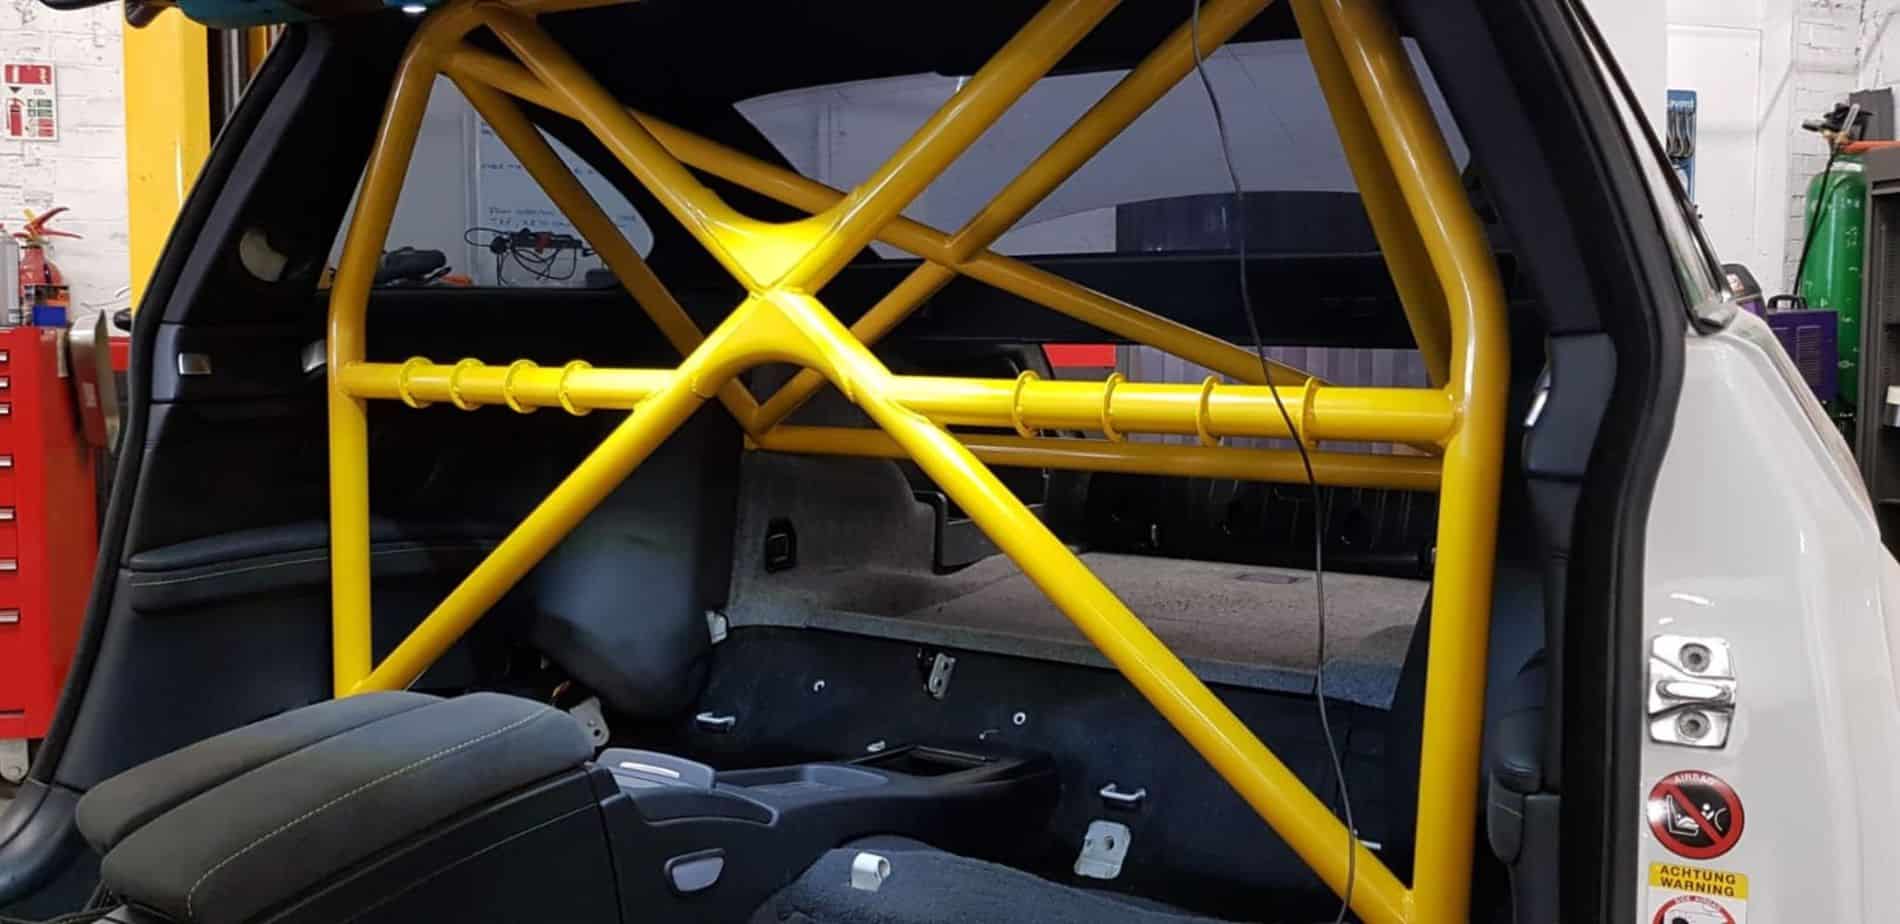
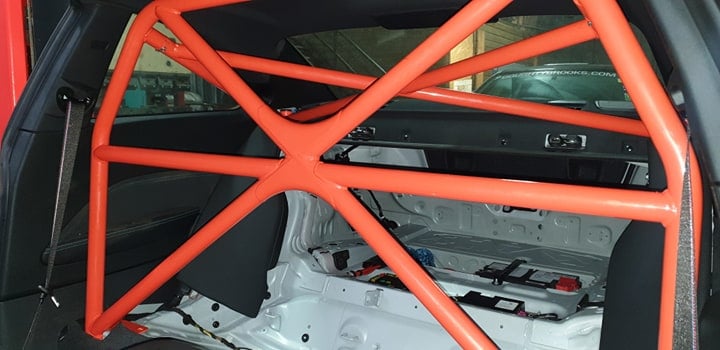
MRB – MAIN ROLL BAR
LAB/RAB – LEFT/RIGHT A BARS (LATERAL ROLLBARS)
RFB – ROOFBAR
RB/LB – RIGHT/LEFT BACKSTAY (REAR LEGS)
D1 – MAIN DIAGONALS (D1 TOP ALLWAYS GOES OVER DRIVERS HEAD)
HB – HARNESS BAR
LD/RD – LEFT/RIGHT DOORBARS
LBP/RBP – LEFT/RIGHT B PILLAR DIAGONALS (HEAD HEIGHT CORNER BRACES BEHIND DRIVER AND PASSENGER HEAD)
MOUNTS AND FOOT PLATES
NOTE. SOME FETTLING MAY BE REQUIRED & ALL TUBES/ PLATES MUST BE CLEANED AND PREPPED READY FOR WELDING PRIOR TO ASSEMBLY.
-This kit is Designed for easy assembly for anyone with welding and fabrication abilities.
-The Kit is CNC notched, marked and labelled.
-Look at the images below for reference as to where the mounts sit, use this to gauge where to remove unused body components from, give your self a good size area to work with, then clean all the paint from the chassis in the areas of mounting, this will save lots of time.
-Using the images for reference position the hoop mounts in the car (may require some fettling to get a snug fit for welding)
-Your mounts can be tacked straight down to build up from.
-Now position the main roll bar (MRB) on the mount. Tack the bottom allowing movement to set the lean angle.
offer the LAB and LD to gauge the position of landing for the foot of LAB, mark this and then tack your front mount below it, measure the position and copy it on the drivers side (some trimming may be required for floor shape)
Now the front mounts are tacked in fit the front A bars (LAB/RAB) and the doorbars to ensure correct positioning. (ensure the A pillar is parallel to the tube and looks a nice fitment)
once this is secure fit RFB and tack in place.
once you have all roof components and doorbars in place you can weld around all visible joins. DO NOT WELD TUBES TO THE MOUNTS!
now the front is welded you can squeeze the cage together with a strap to give access to the joins between the body.
once the cage is fully welded you can remove the strap and push the legs back where they belong and fully weld them in place.
with the front of the cage fully welded and in position you can now build up the rest of the cage.
for the rear backstays, use the images for reference, the diagonals will help you set the correct width and the length of the bars will tell you where to land on the arch/strut. You will need to trim a small amount off the body where the backstay touches to allow the legs to land properly on the mount
the width between the 2 rear stay feet should be 1020mm centres
Offer your rear legs up to the positioning marks (RB and LB), tack them in place, then fit the any diagonal as required.
all additional bars can be located using the positioning marks and some element of common sense.
ensure everything is fully welded, clean all the spatter and shes done!